Shopify SEO Course ↗️ > Unit 3 > Lesson 4 > Google Analytics
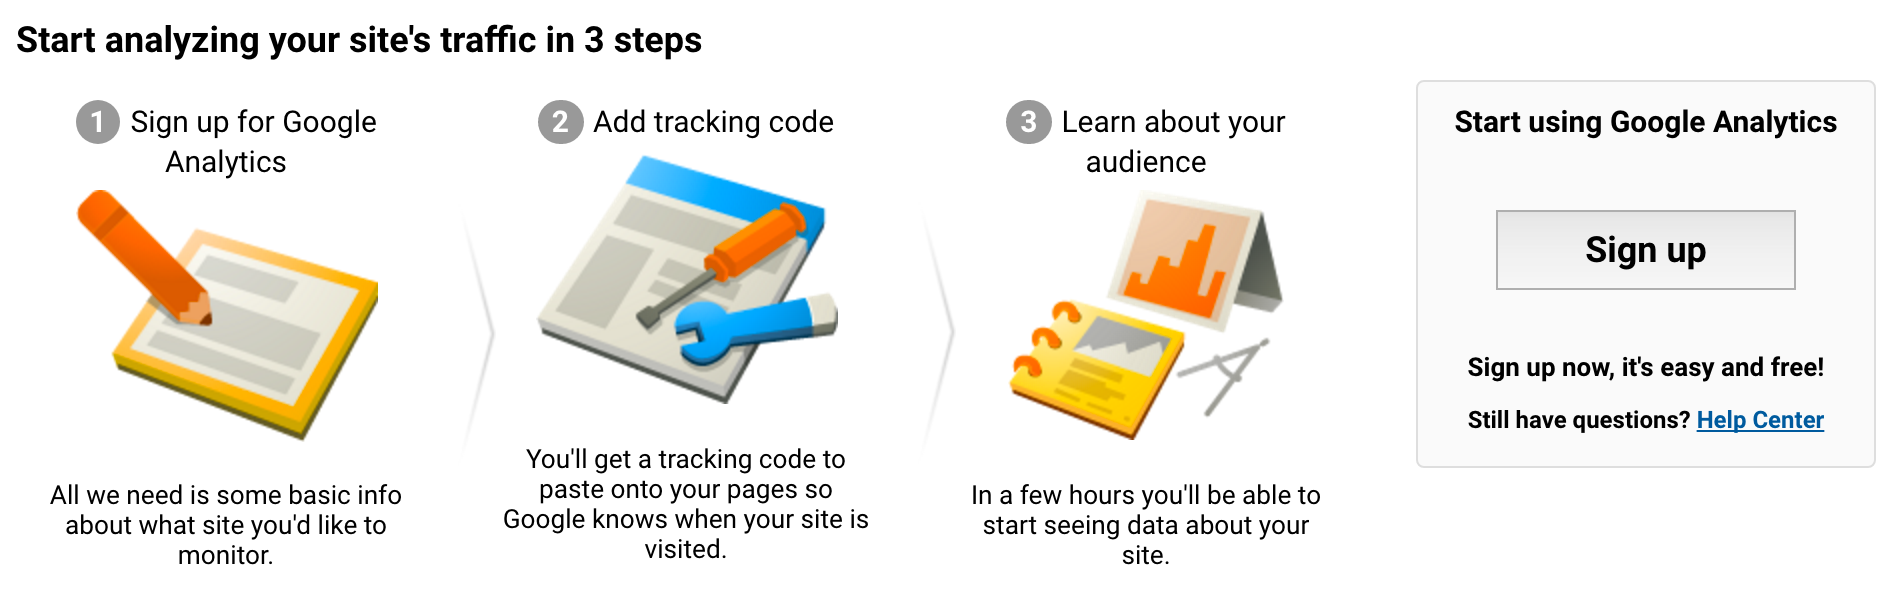
Google Analytics is a free website analytics software that tracks your website traffic and visitor’s behavior. When setup correctly, this software can help you determine how much traffic you get during a specific timeframe, whether your traffic is increasing or decreasing over time, where your traffic comes from, and how well your traffic converts into customers.
To get started, you will need to sign in to or create a new Google Analytics using your Google account. Ideally, if you created a Google AdWords account in the earlier module for your keyword research with Google AdWords Keyword Planner, you will use the same Google account for your Google Analytics. If you do not already have a Google Analytics account, you will sign up by clicking the Sign Up button.
Next, you will add the details about your Shopify store website.
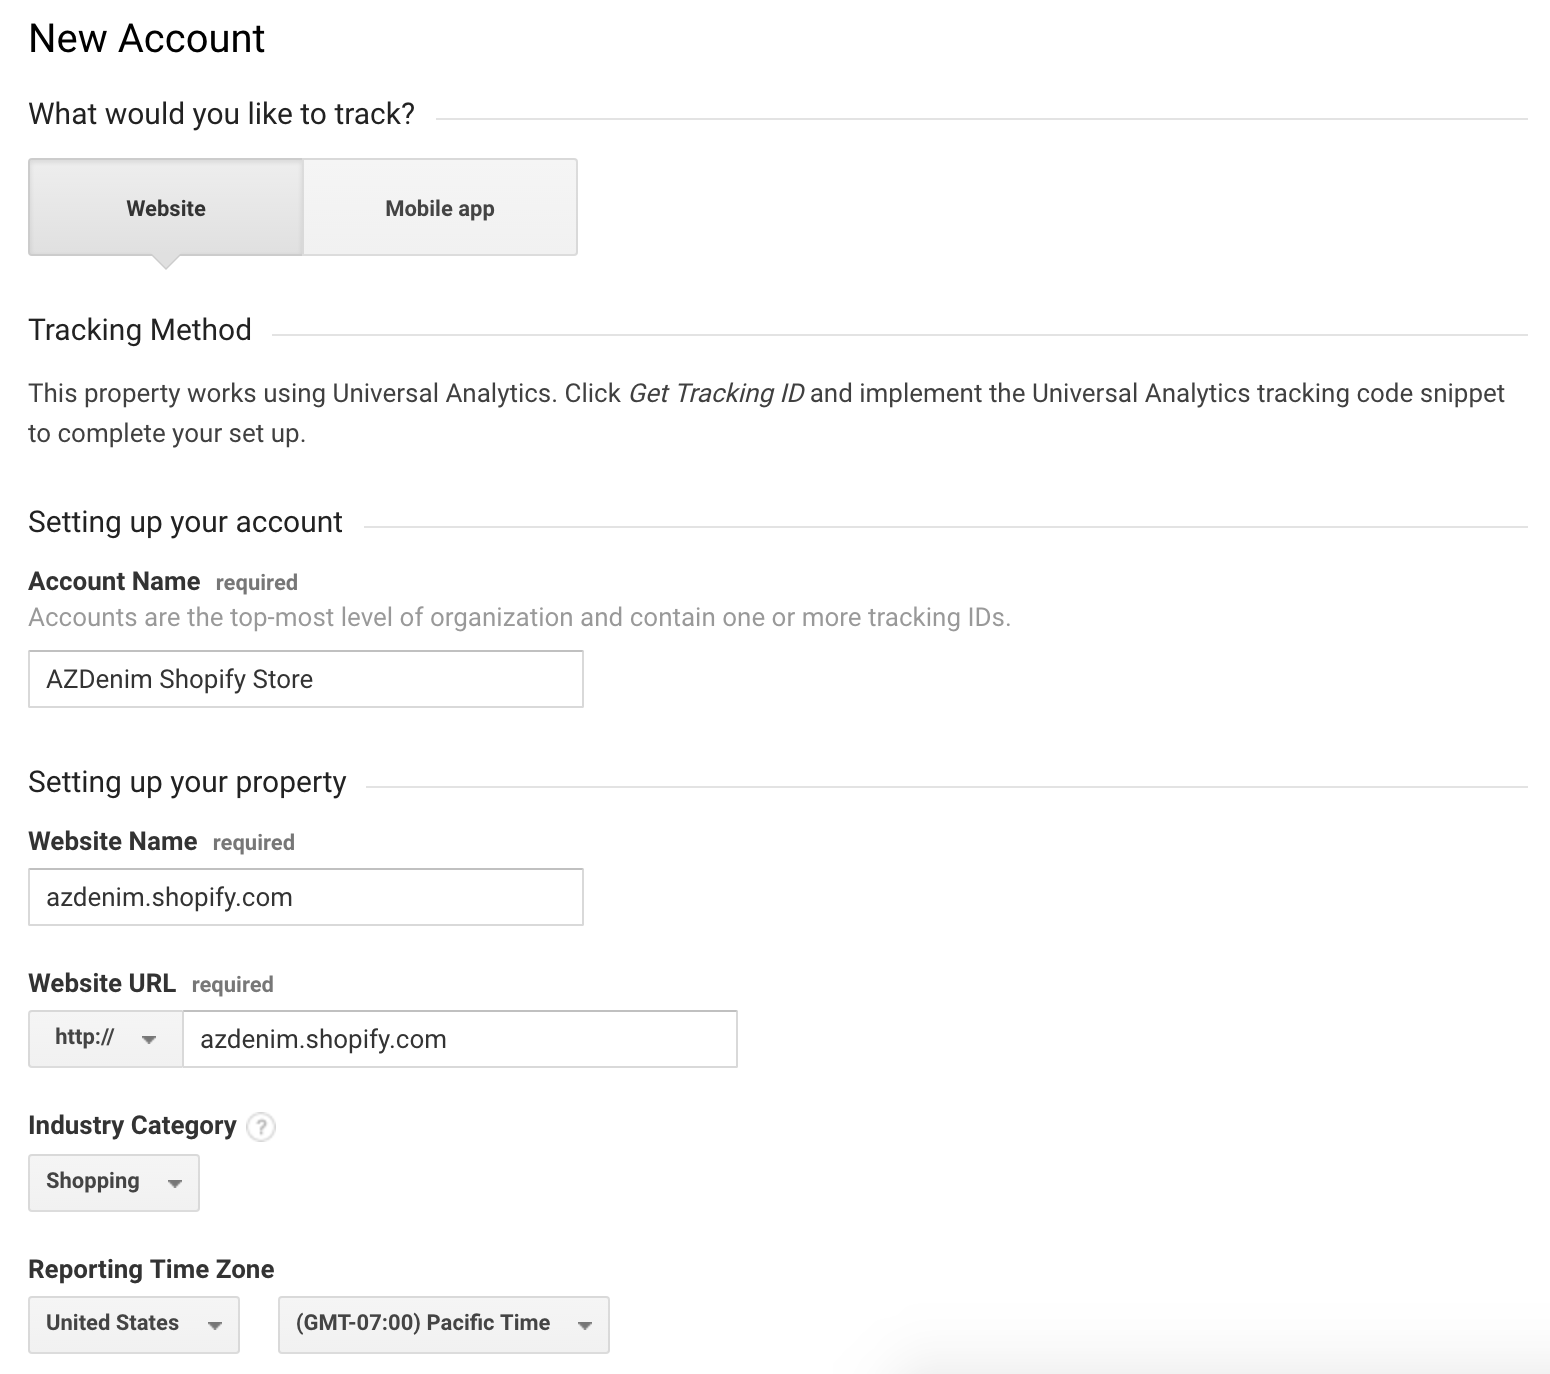
Note that if you plan to have more websites than the online store you are building, you may want to go with a different account name that encompasses all of your endeavors. Then use the Website Name to identify the website you are tracking.
From here, you will scroll down and accept the terms and condition. You will then be given your Google Analytics tracking code.
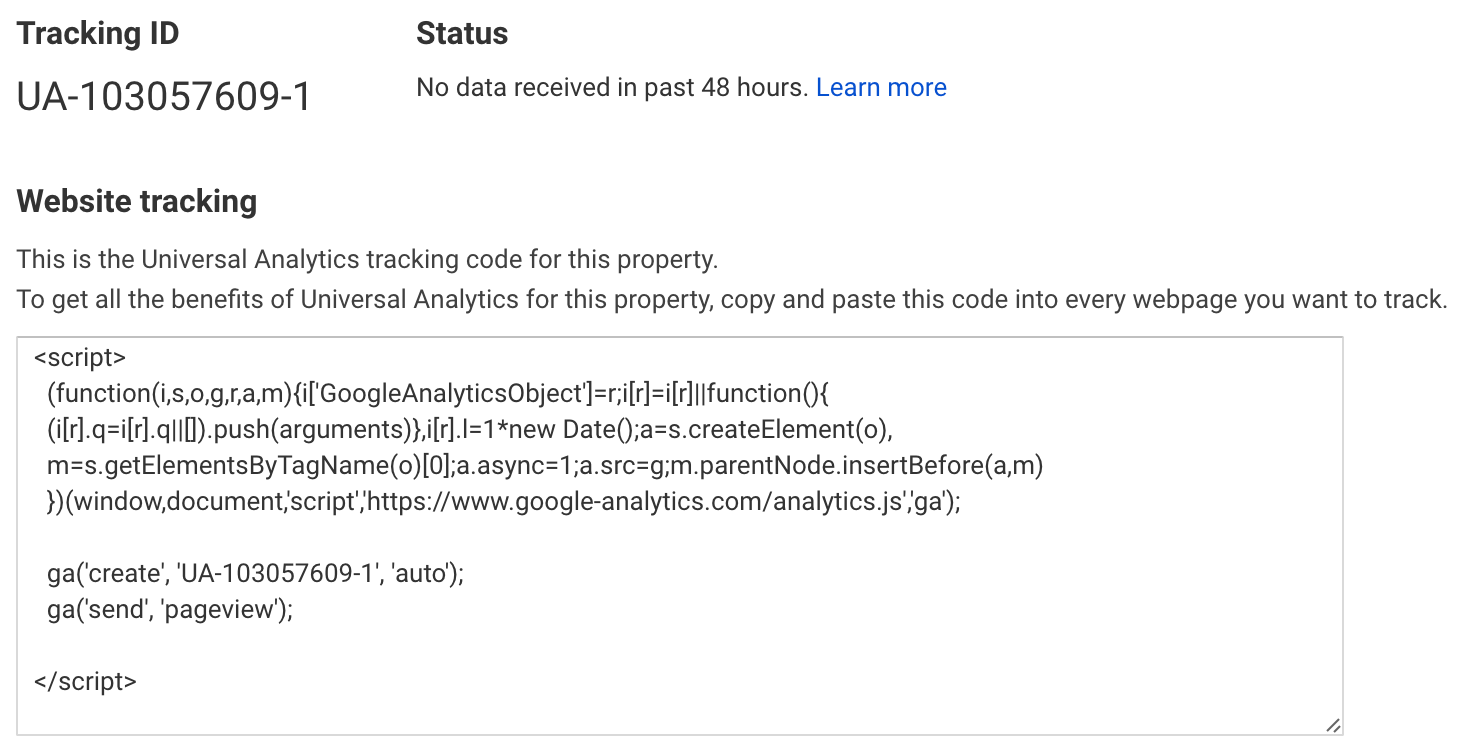
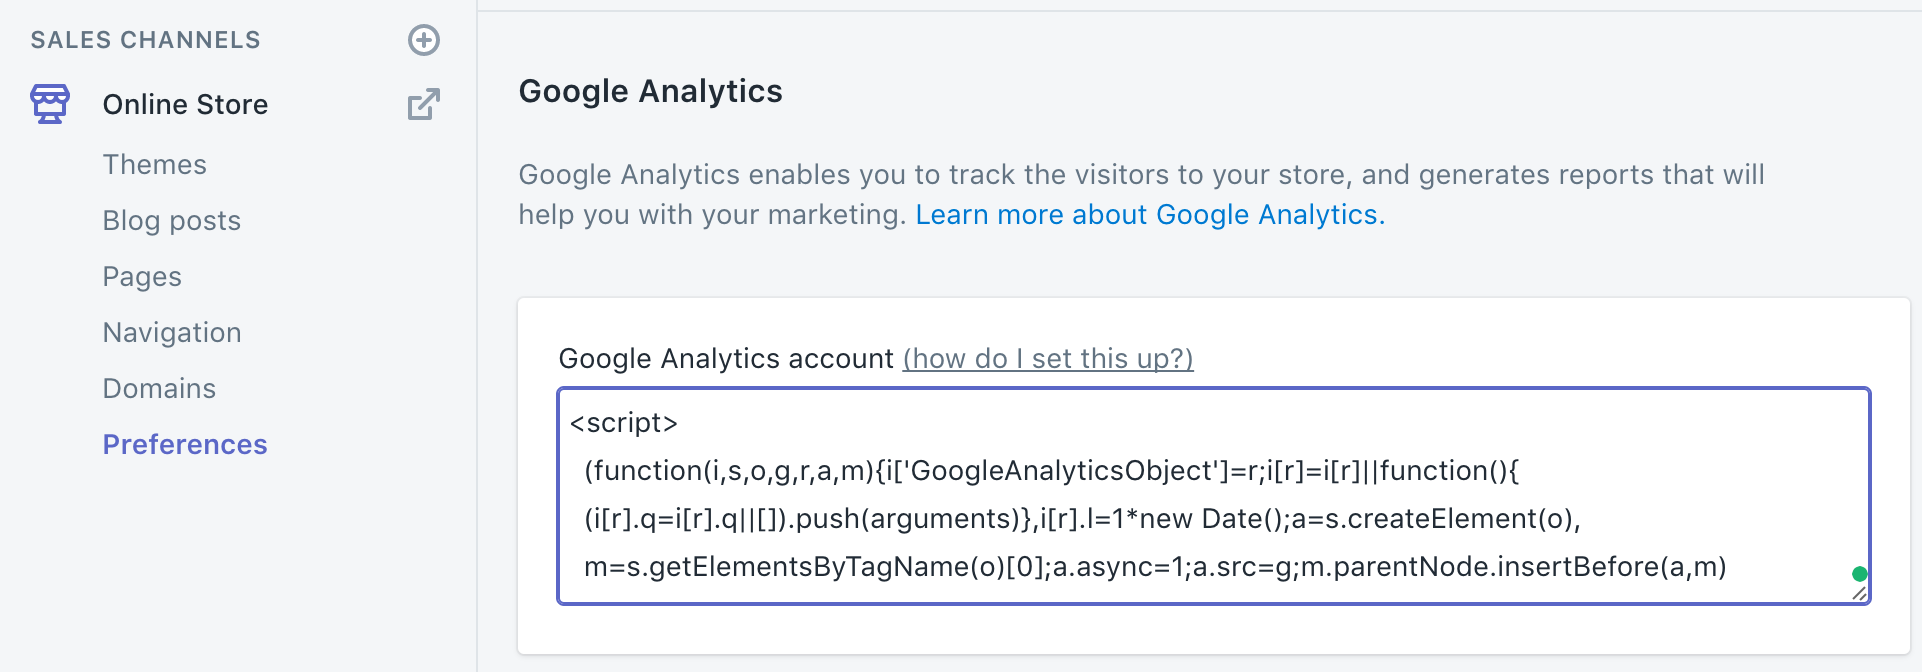
From here, you will copy your tracking code and paste it into your Shopify store’s Google Analytics field in the Online Store > Preferences.
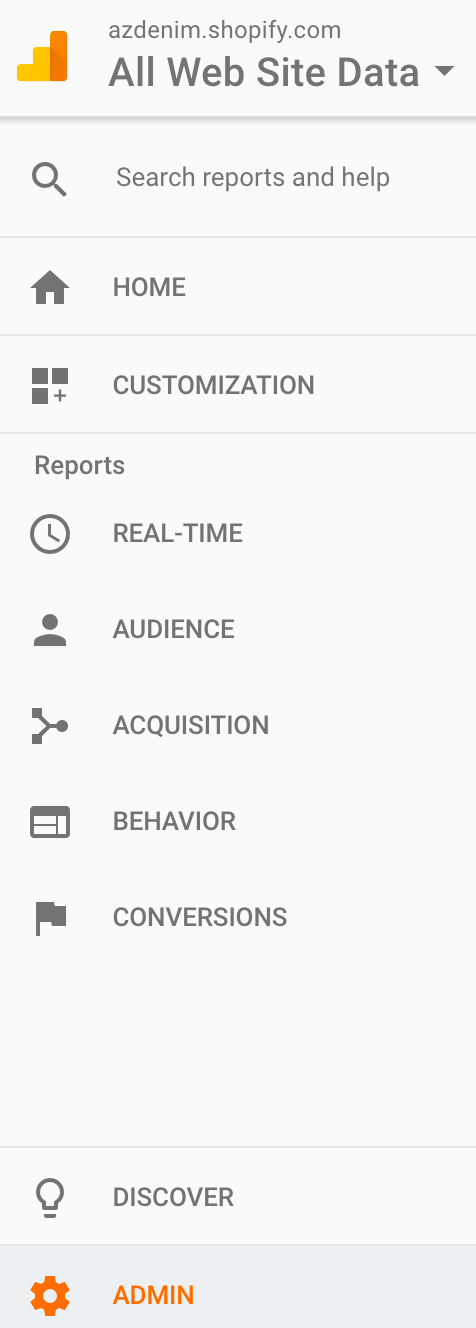
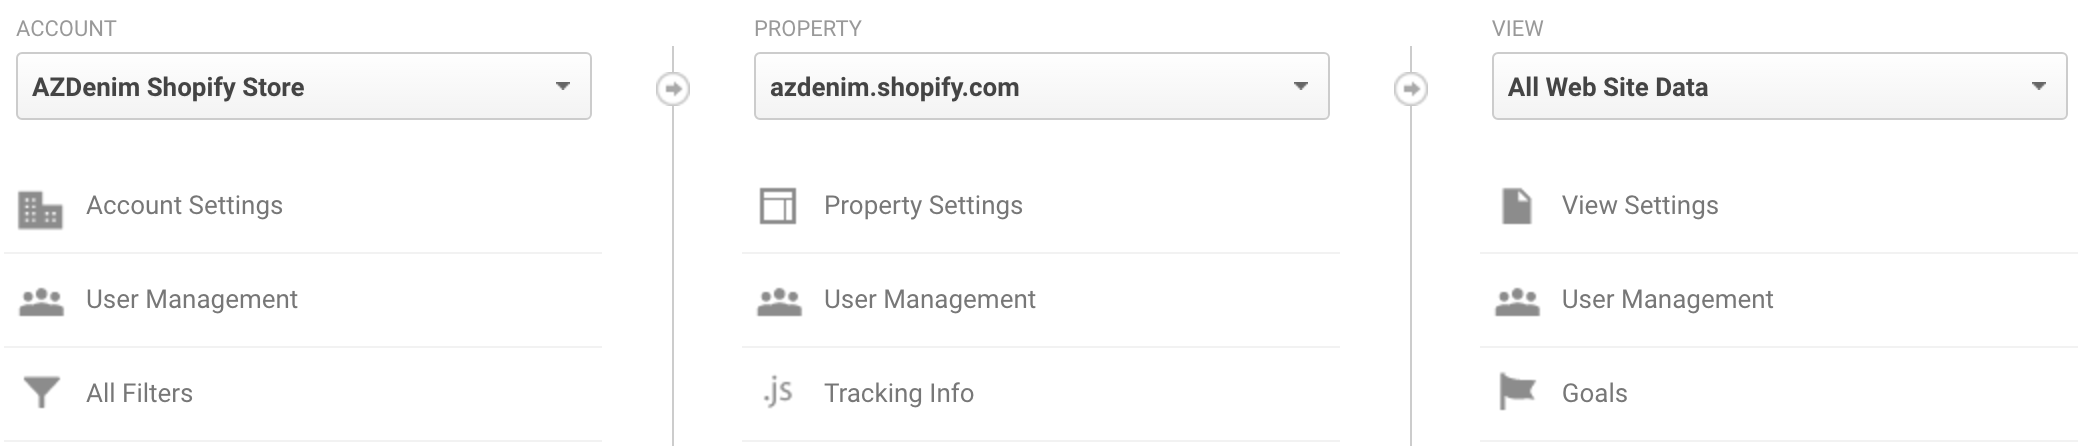
In addition to adding the basic tracking code to your website, you can configure a few other tracking options now that will add value to your Google Analytics data in the future. First, you will want to add a Google Analytics conversion goal that tracks the visitors who ultimately make a purchase on your Shopify store. To do this, you will go to your Google Analytics dashboard Admin menu.
In the third column, you will see Goals.

On the next screen, you will click the + New Goal button and start a Checkout Complete goal template.
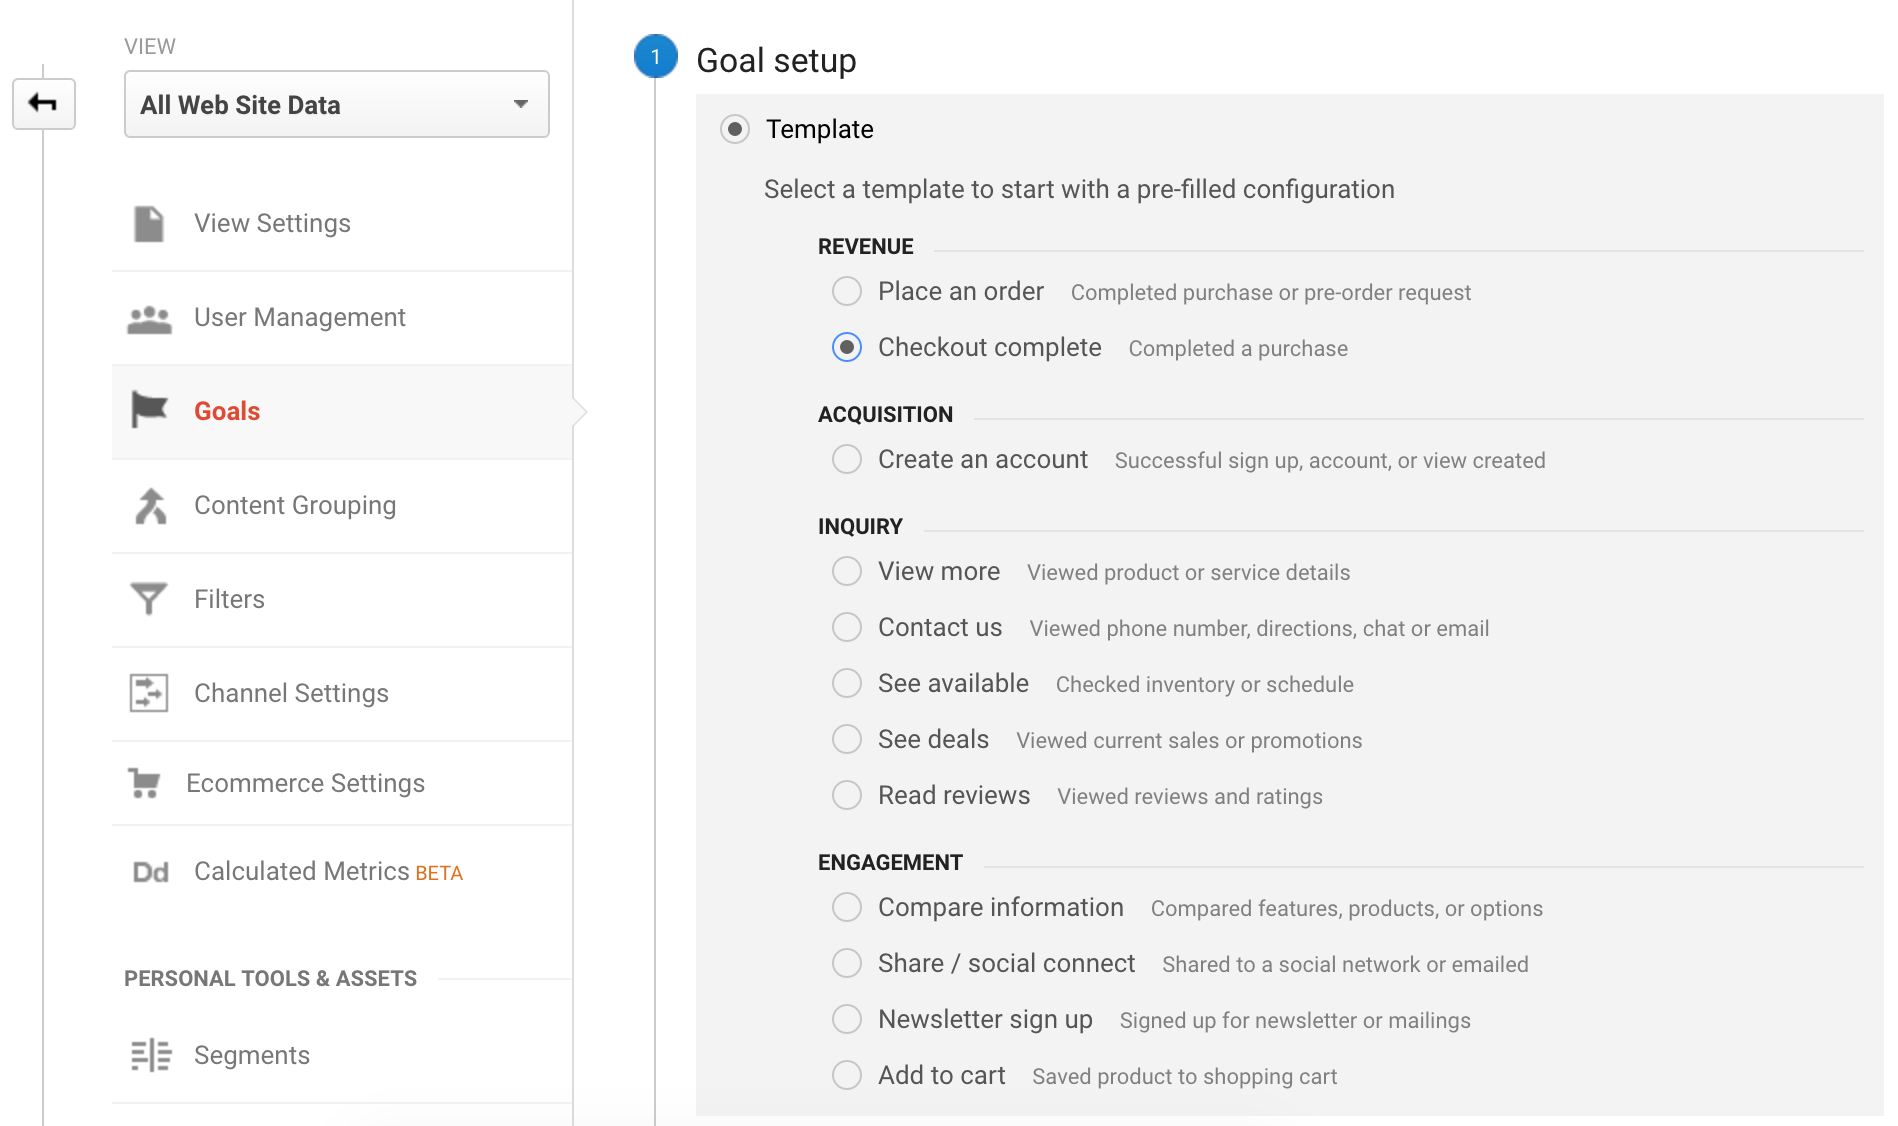
After you continue from this screen, you will select the Destination goal type and continue.
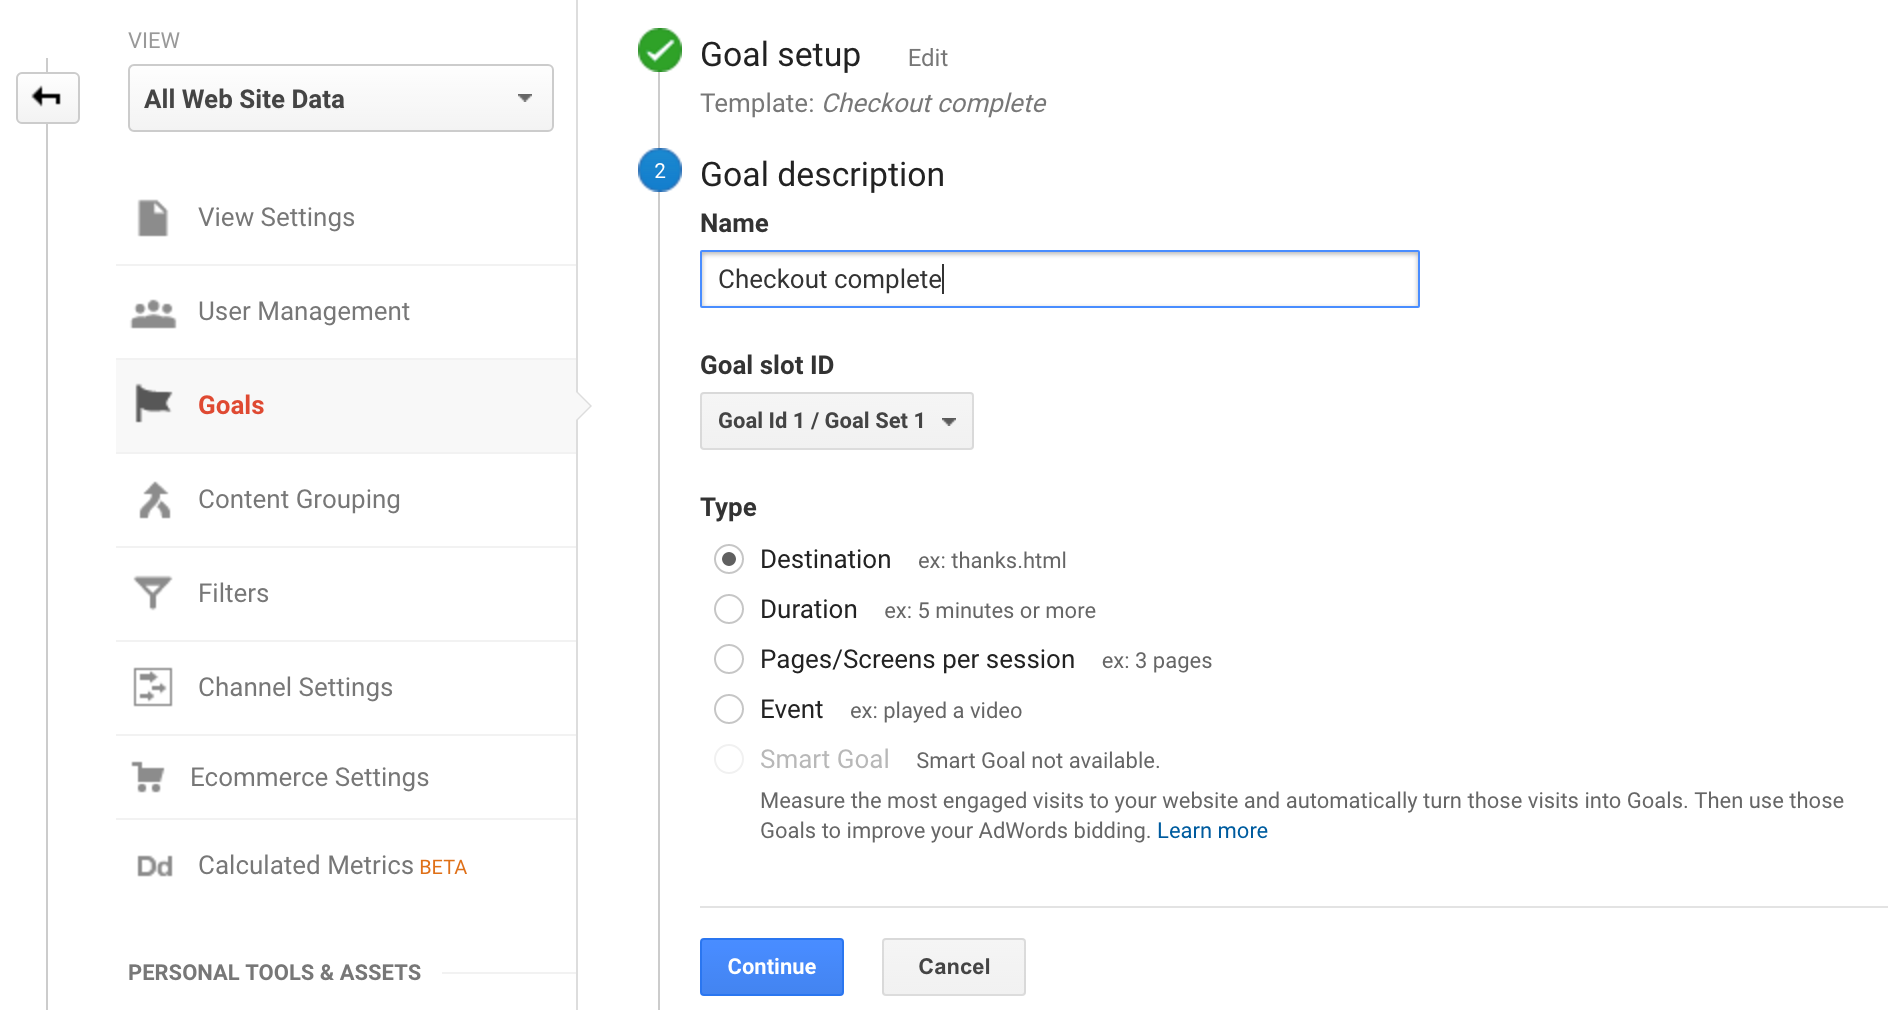
You will then configure your final destination URL as well as the steps visitors will likely take to get there, which will be your funnel.
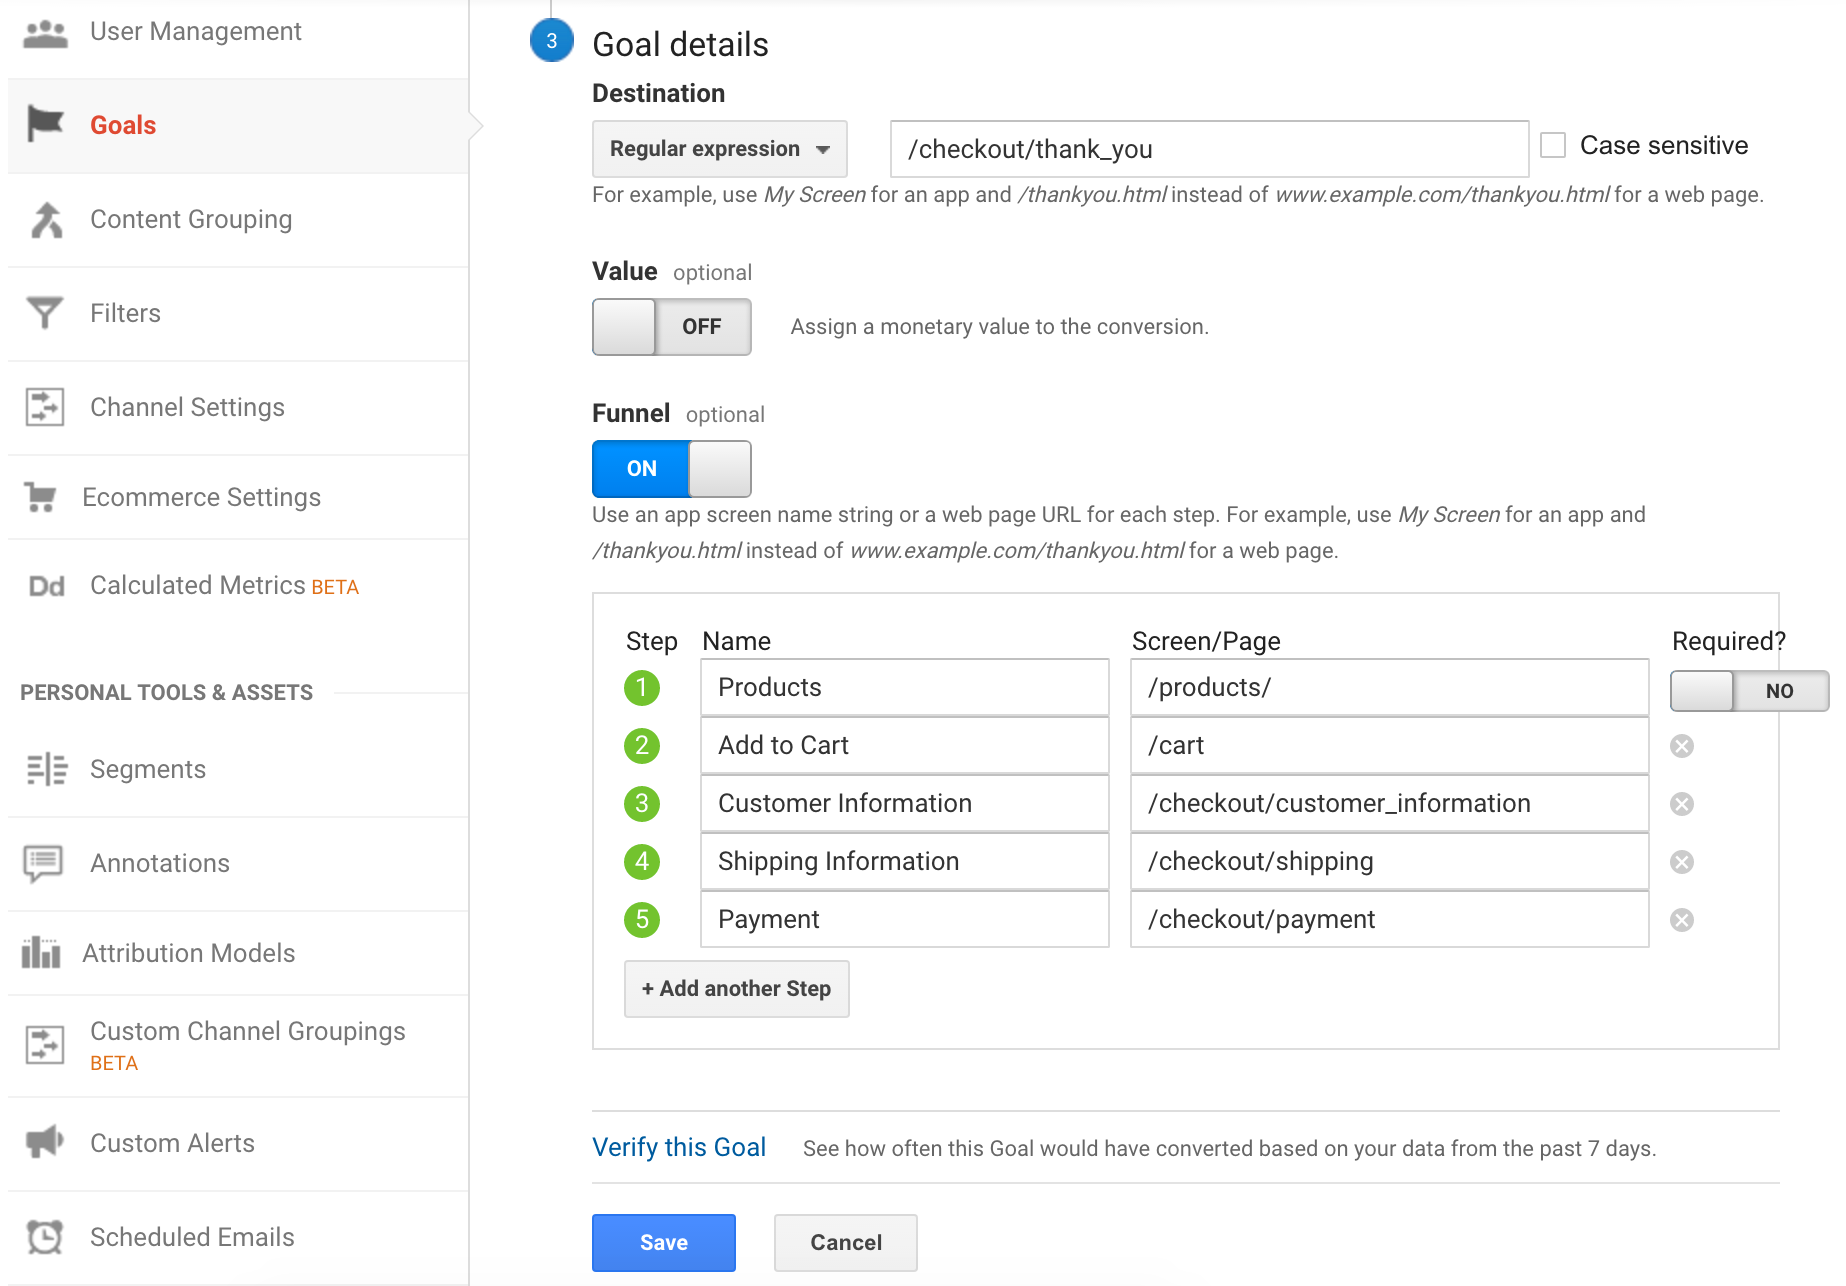
Note that while the funnel setup is optional, it can be a valuable tool in the future to see how many visitors add products to their cart versus how many visitors make their purchase. Without it, you can still track the visitors that convert into customers, but you will only see that they made a conversion without the ability to track visitors who didn’t.
You will want to run through a purchase on your Shopify store to confirm that these are URLs used in your store’s checkout process. Some themes may have different pages.
Another setup you can do at this stage is your Site Search. This will track all of the searches visitors to your website place on your Shopify store. To do this, you will go to your Admin menu in Google Analytics and click on the View Settings option in the third column.
Scroll down to the bottom of your settings page to find the option to toggle on Site Search tracking and add the following information.
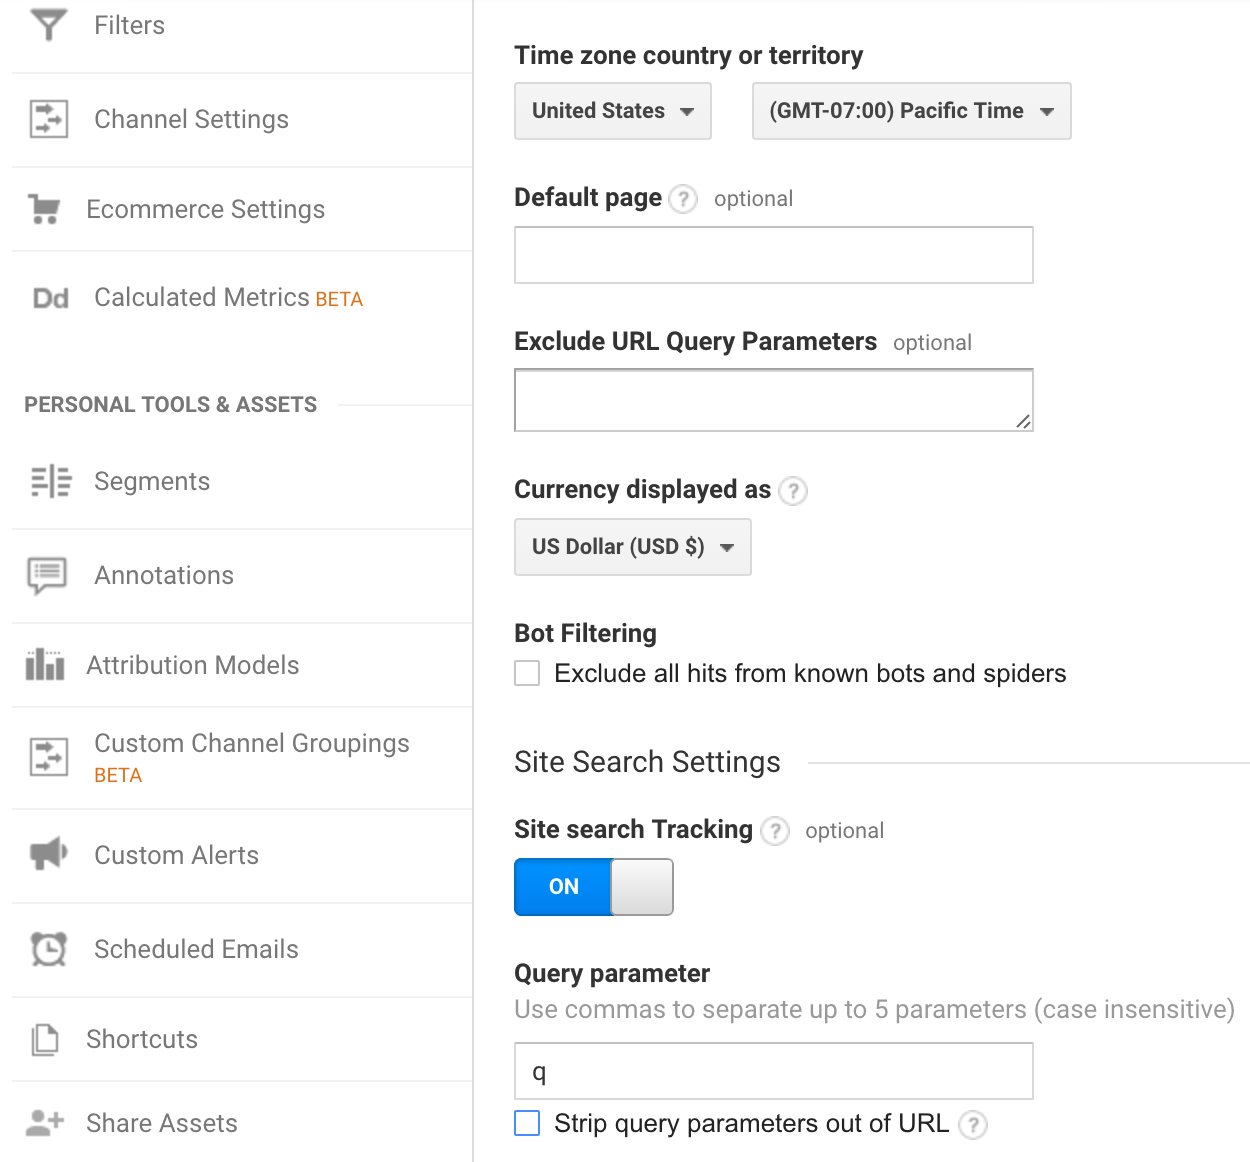
This will ultimately allow you to find out what search terms visitors search for on specific pages of your Shopify store. You can use that information to take action, such as making sure there is a link to Skinny Jeans on a page that people search for the terms skinny jeans often.
From here, you just have to wait until Google Analytics starts tracking traffic on your Shopify store. We’ll look later on at how you can use this information to determine your website’s health in search engines and additional information.
Giles Thomas
CEOOptimize your Shopify conversion rates. 5 lesson course, learn 51 ecommerce best practices to get more visitors to buy.